
Welcome to the eXtreme STEAM Bat Edition Project
For 2022, we have considered ways students can participate in any learning environment. Whether your classes are in person or virtual, we have entry points for your creative thinkers. Welcome aboard!
|
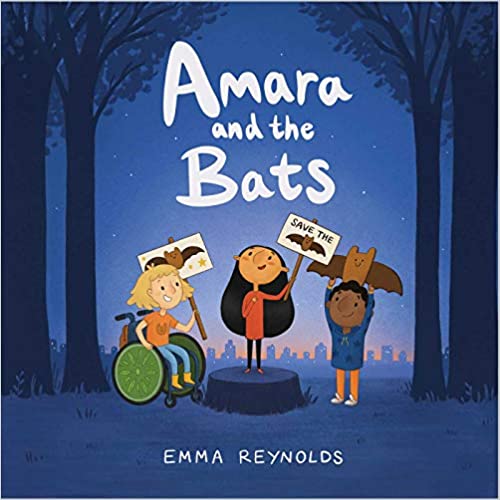
STEP 1 - Read the StoryTo set the stage for the project, begin with a reading of Amara and the Bats by Emma Reynolds. The book is available in both print or Kindle version. Did you know that you can read a Kindle book in a web browser? Simply use the Kindle Cloud Reader. This allows you to screen share the pages making it easy for students to follow along as you read.
In the story, students learn about bats alongside Amara. Invite your students to discuss some of the innovative ways Amara and her friends learn to help their community and the bats.
|

|
STEP 2 - Let's Walk Through an Initial Design Thinking Experience. Begin with empathizing with the bats., Our eXtreme STEAM project is designed so that students can make a positive impact on their community, but we highly recommend starting with a Design Thinking Challenge centered on the book.
The beginning of the Design Thinking process is to consider the character or person's needs. Ask students to go back into the text to find evidence of what bats need for their homes, for example.
|

|
STEP 3 - Define the ProblemNow it's time for students to define a problem statement that will focus their design work. Problem statements have 3 components: 1) a user, 2) a need, and 3) a goal. These are then combined following the pattern [A user] needs [need] in order to accomplish [goal].
Example: Jane, who must carry textbooks, library books, a water bottle, technology, and her diabetic supplies to school each day, needs a backpack that will keep all of her items organized, protected, and easy to access. Invite your class to develop their own problem statement for Amara and the Bats. |
|
STEP 4 - Ideation PhaseChallenge your students to design a bat house. It can be practical, fanciful, magical, or even over the top. See where their imaginations lead them.
|
|
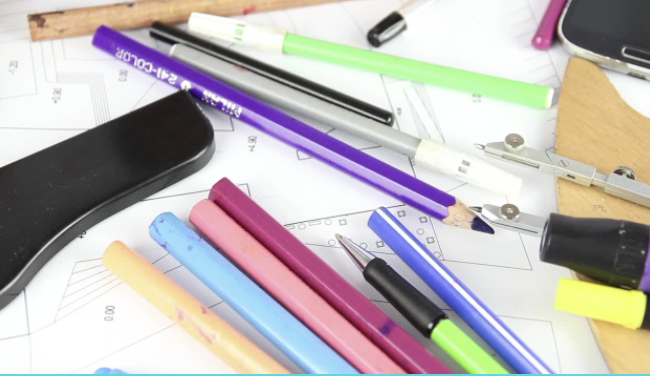
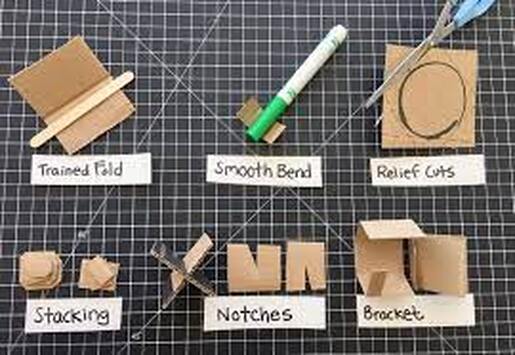
STEP 5 - Construct a Bat House PrototypeNow it's time for students to construct a 3D prototype of their bat house. The best part of prototyping is students can use any materials they have available.
|

|
STEP 5 - Share the Class DesignsWe would love to see your students' solutions to helping the bats in Amara's community. Please share photos of their designs on social media using #eXtremeSTEAMedu.
|
PART 2 :
Now Let's Design a Solution for the Community
We understand that some district COVID restrictions make community service projects difficult, but we do invite you to continue reading through the steps to see if there is
a possible opportunity for your students.
a possible opportunity for your students.

|
STEP 6 - Research - Interview a Nonprofit or Organization that Services the CommunityThe goals of eXtremeSTEAM are:
1) to challenge students through design thinking 2) to positively impact their communities During this phase, students should interview a local nonprofit or organization that services the community. It's difficult to have guest speakers visit schools, especially if your class is fully remote, but luckily, virtual connections are possible. Every school district's guest speaker policy varies, so please check with your school leaders about virtual guest speakers.
|
|
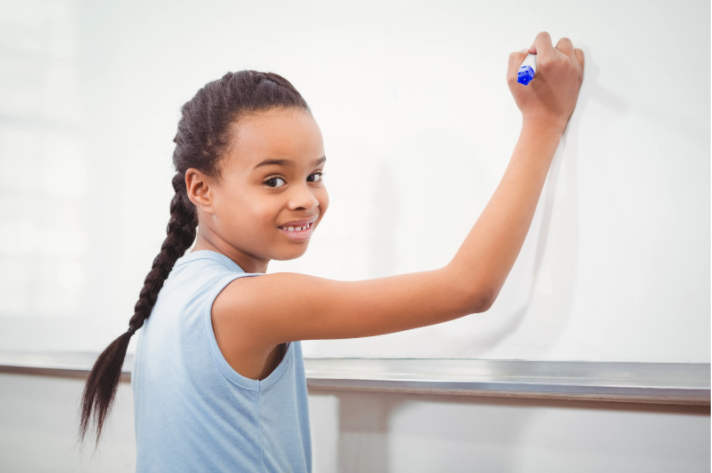
STEP 7 - Identify a Problem Statement for Your Service ProjectAfter listening and interviewing the guest speaker, invite the class to draft a problem statement. Similar to the process with STEP 4 above, Problem statements have 3 components: 1) a user, 2) a need, and 3) a goal. These are then combined following the pattern [A user] needs [need] in order to accomplish [goal].
Example: Our community, which has a low bat population, needs strategically placed bat houses to attract bats that will help with pollination and insect control. |
|
STEP 8 - Ideate SolutionsNow it's time to ideate possible solutions for the class to support the nonprofit or organization.
A great way to get the creative juices flowing is to complete a "The Worst Idea" exercise. Also known as "The Bad Idea Factory", students come up with as many terrible solutions to the problem as they can. Believe it or not, this exercise pushes creative thinking and boosts student confidence when sharing of ideas.
|

|
STEP 9 - Prototype the SolutionNow that your students have an idea that could help their partner organization, it's time to prototype their solution on paper/digital collaborative document. The class should consider all the steps needed to complete the solution.
Be sure to check out 45 Socially Distanced Service Project Ideas We highly encourage classes to share their ideas with building administration. It's important that you have leadership support for the project. Plus, the administrator can act as a positive critical friend by offering feedback to students. Don't forget to share prototype photos on social media with our #eXtremeSTEAMedu hashtag. We can't wait to see students' creativity in action. |

|
STEP 10 - Time for ActionIt's go time! Students complete their service project. Whether they are raising funds for a local organization or hosting a drive for goods to build bat houses for the community, we are cheering your student leaders on.
|

|
STEP 11 - Celebrate and Share Your Story on Social MediaWe can't wait to celebrate your students' creativity and generosity! Please share your story on social media using our #eXtremeSTEAMedu hashtag. We love to help cheer your student on!
|
